5-Minute Guide
Authany makes it easy to add user authentication and authorization to any application. In this guide, we'll show you how to get started with Authany in 5 minutes.
Video Guide
1. Create Authany account
To start using Authany in your application, create a free Authany account on authany.com.
After you sign up, you'll see the onboarding screen that will guide you through the process of creating your first Authany project.
2. Authany Projects
An Authany project is similar to a container that holds all your users, settings, and client applications. You need an Authany project before you can start signing users up.
You can create multiple projects under one account based on your needs. When you create multiple projects, each project is isolated from the others. For example, you can create Project 1 for your e-commerce business and Project 2 for a fitness club you organize. Project 1 and Project 2 will not share the same users or settings.
To create an additional project, log in to your Authany account then click on the "Create Project" button.
3. Testing your signup/login page
Now that you have created a project in Authany, you're ready to integrate Authany into your applications for your customers/users to sign up and log in. See our documentation for adding Authany to your application or website here for your favourite framework and programming language.
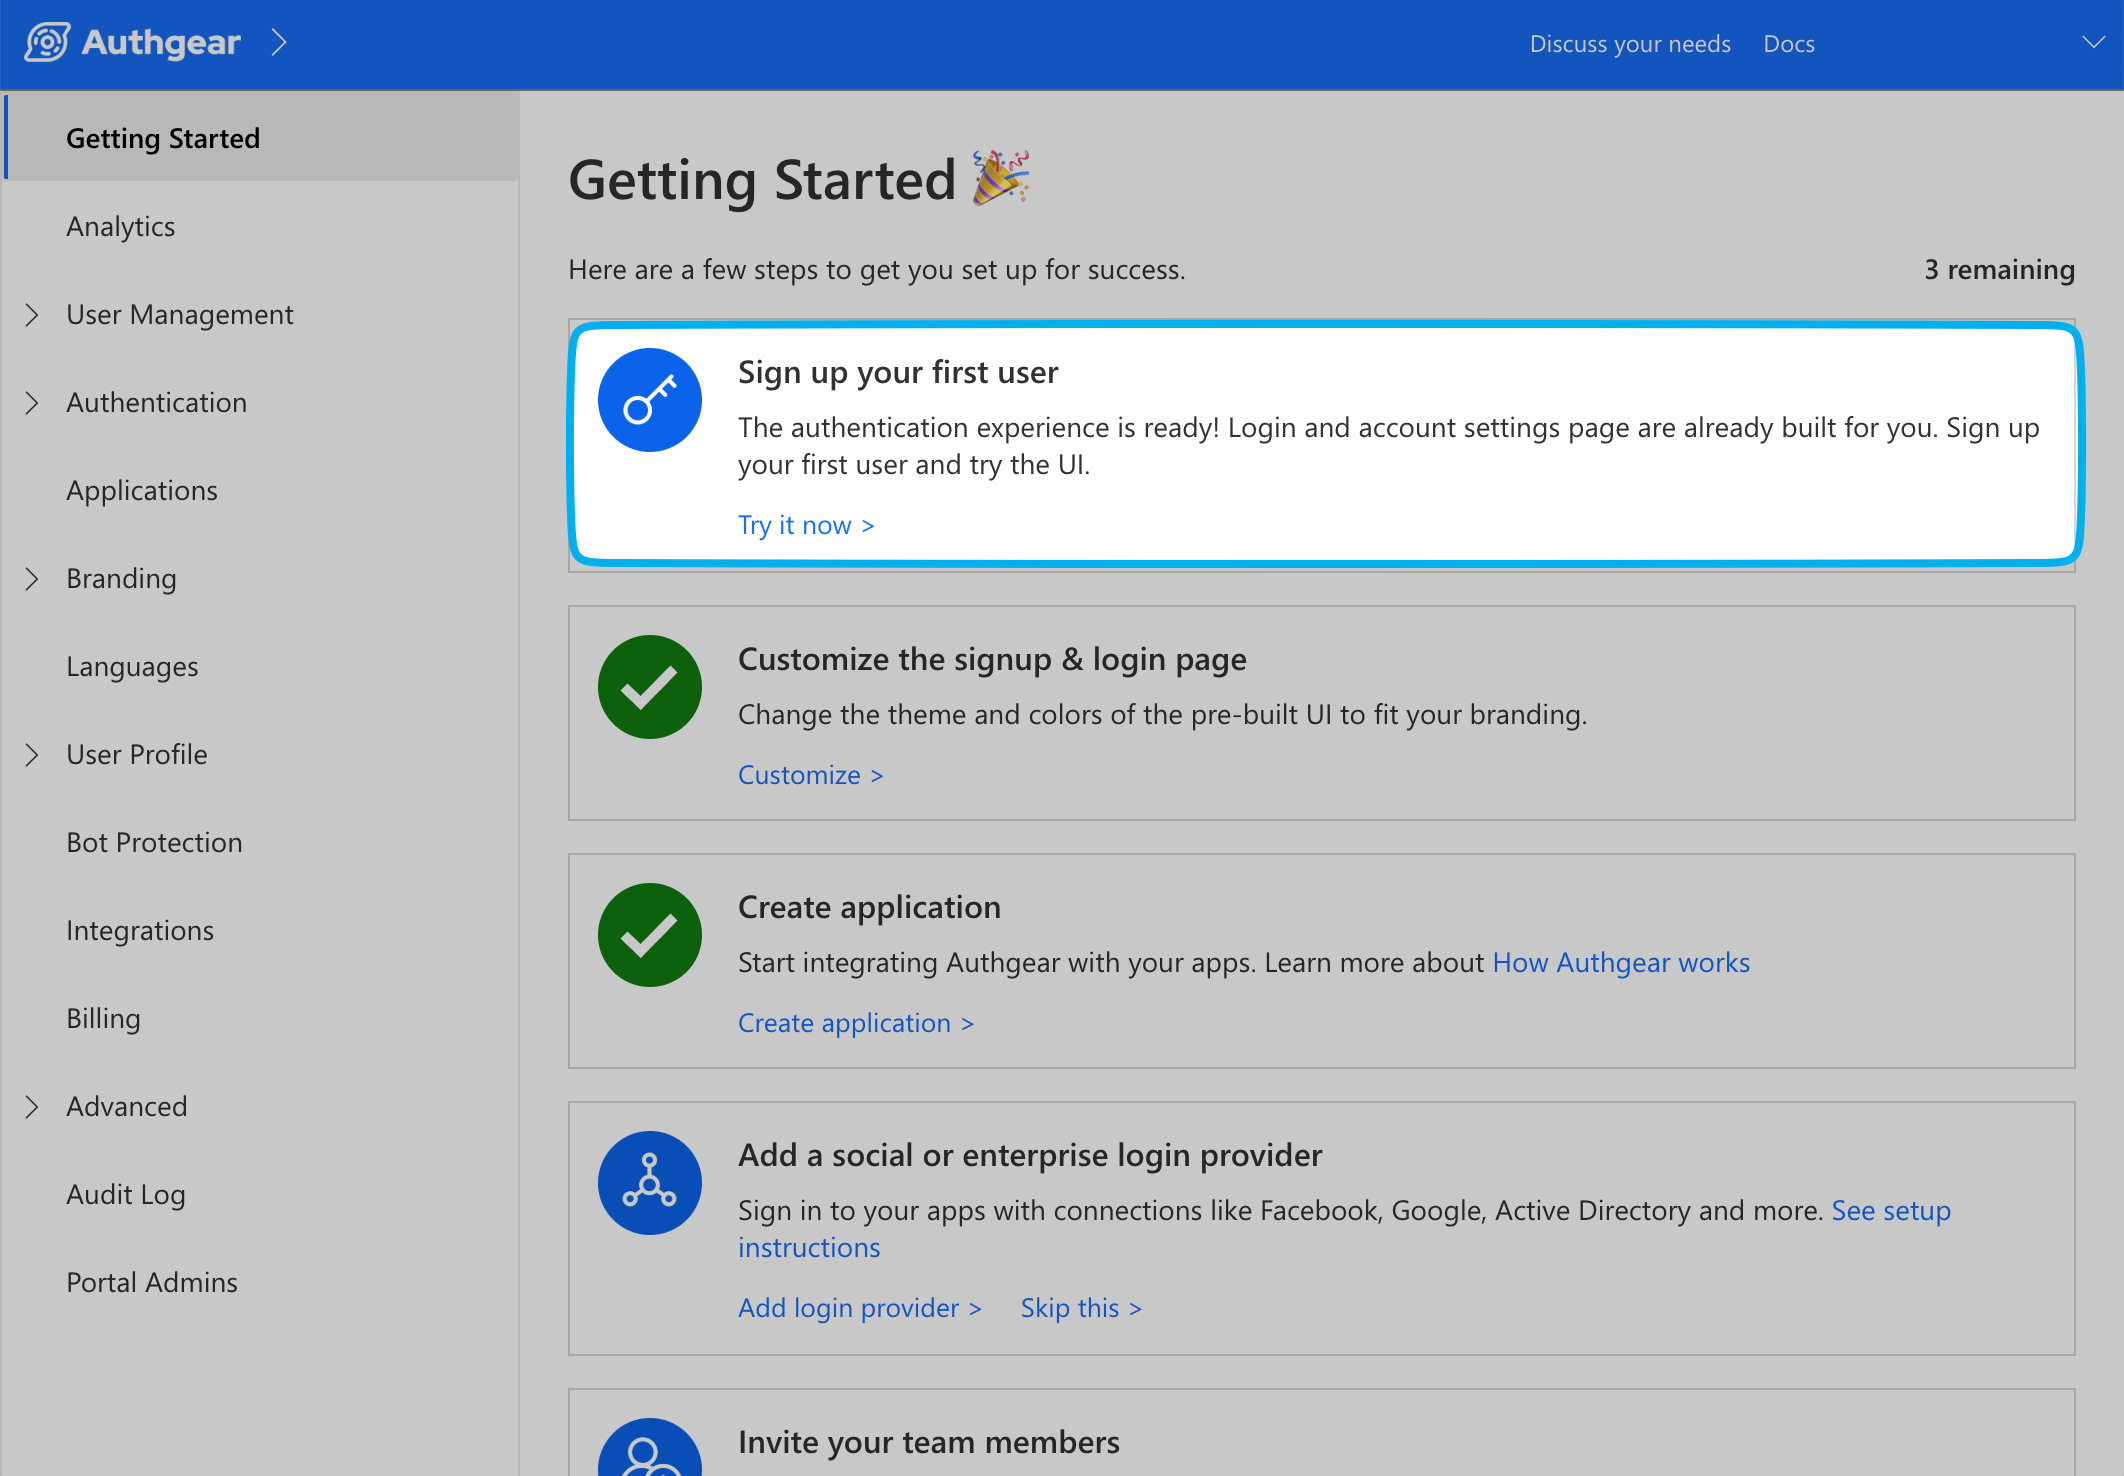
Before any integration, you can try out the signup flow for your project from the "Getting Started" page.
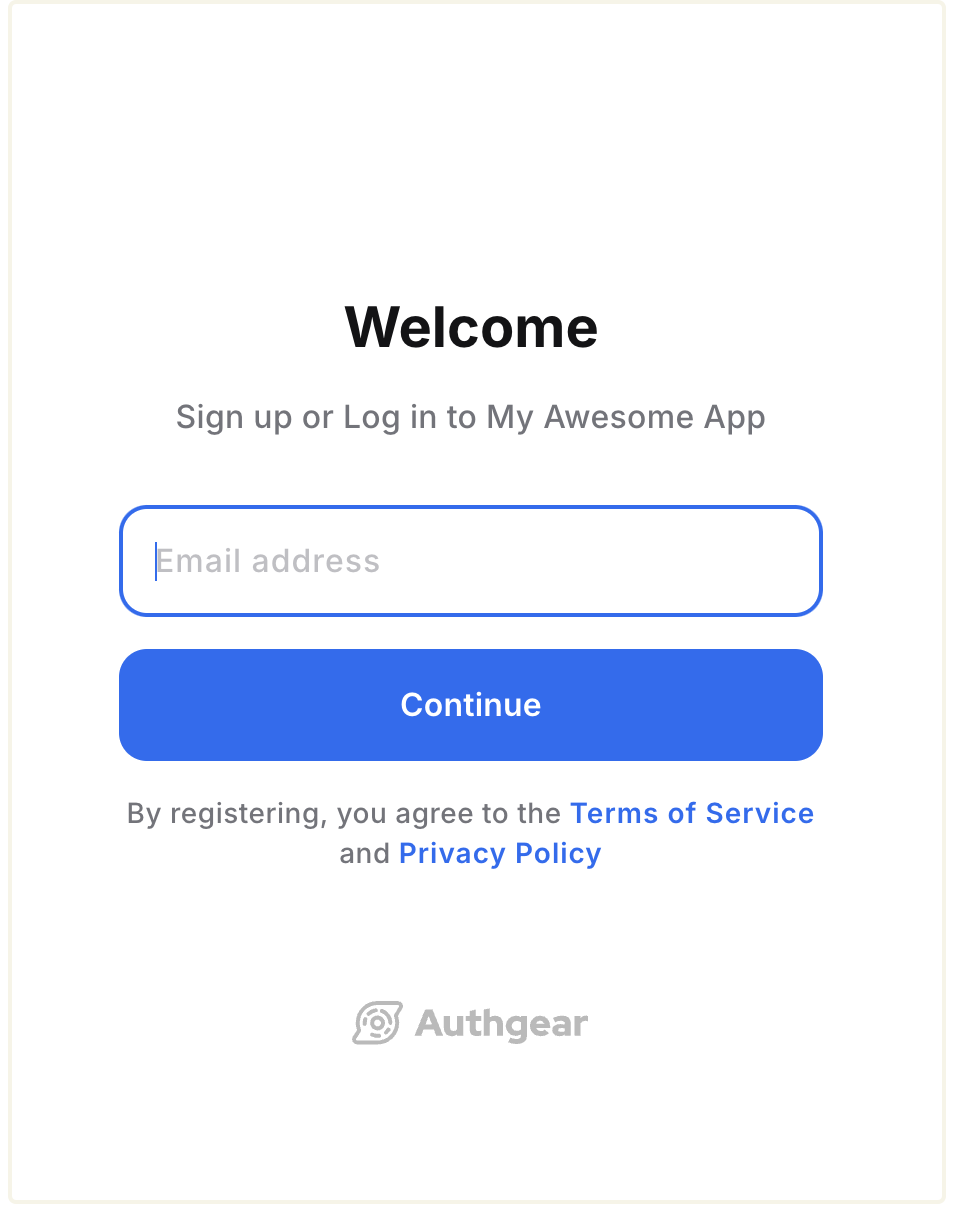
You should be greeted with the AuthUI Login/Sign-up page. Use the form to create a new user account under your project.
Note
The flow for sign-up and login will differ based on the login method you enable for your Authany project. For example, users can sign up using their phone number and password if you enable the Mobile login method.
4. User Settings Page
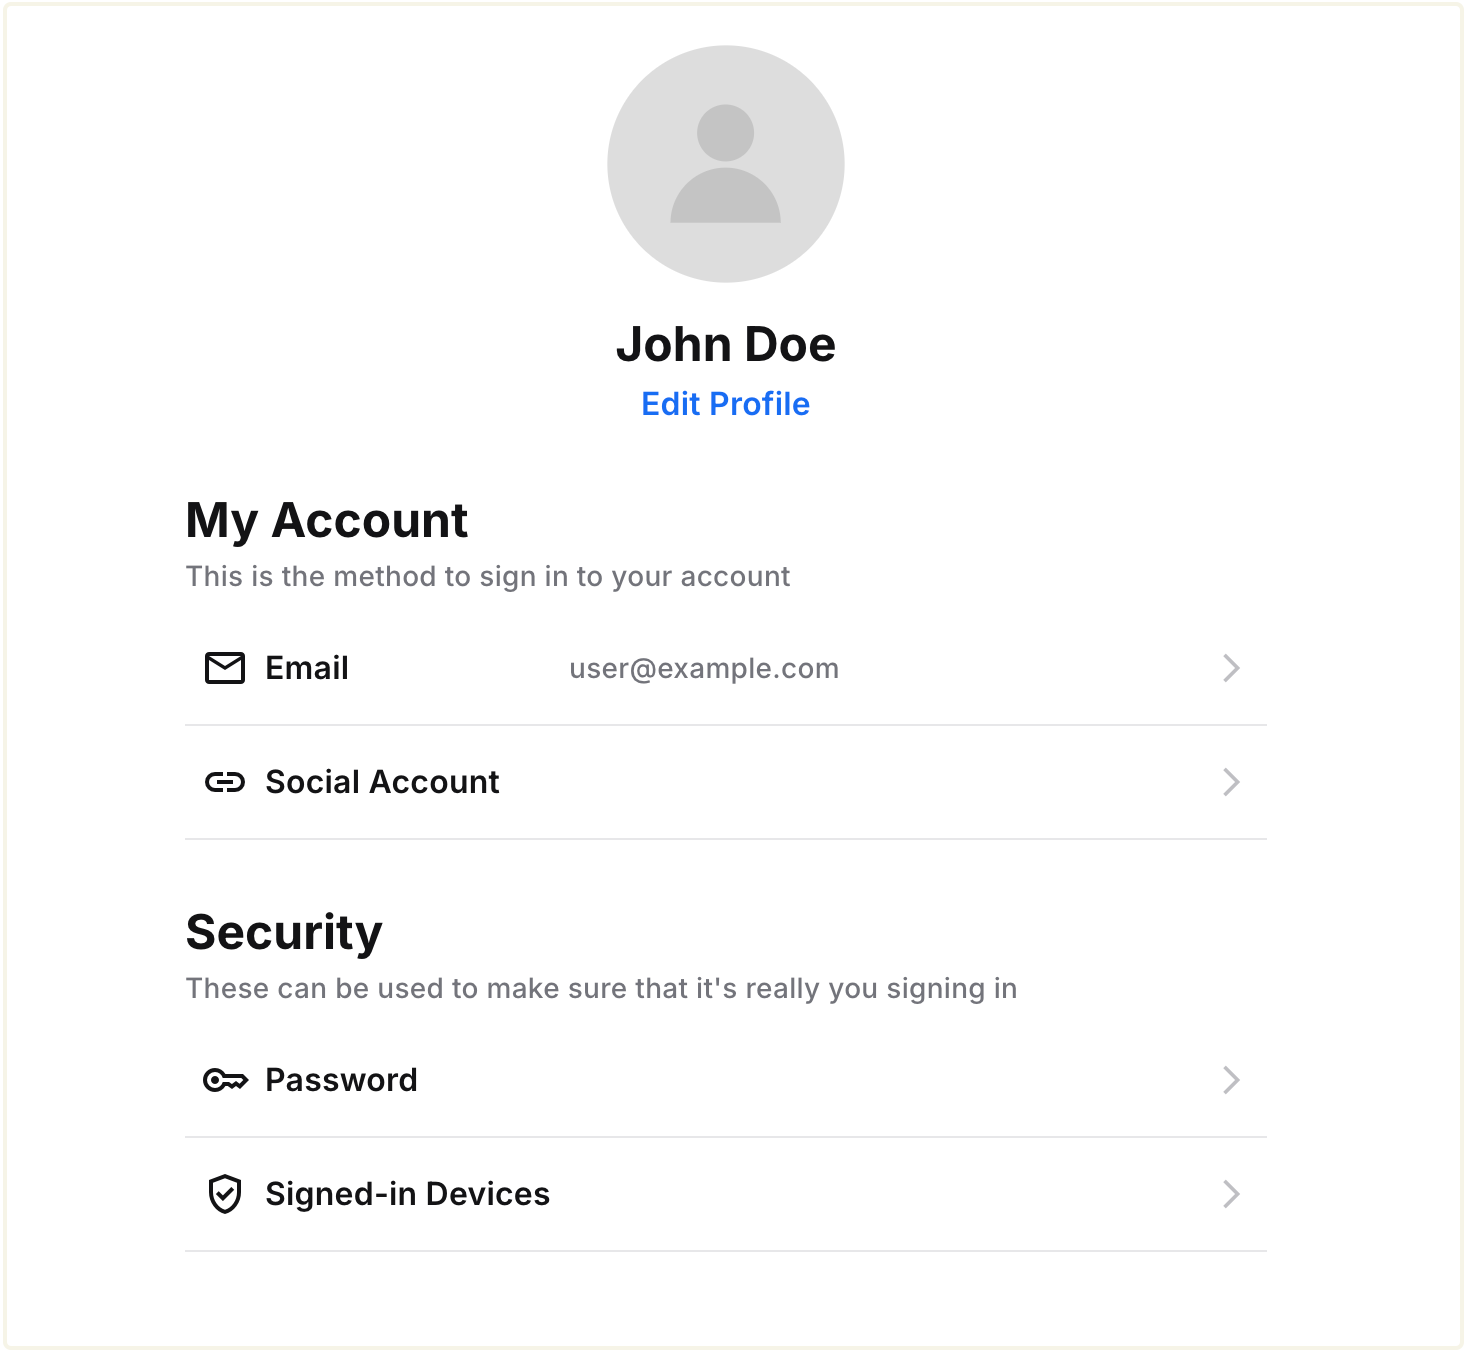
After logging in from the previous step, you can check out the Pre-Built User Settings Page. This page is the default page where users of your project can edit their profile and manage security settings.
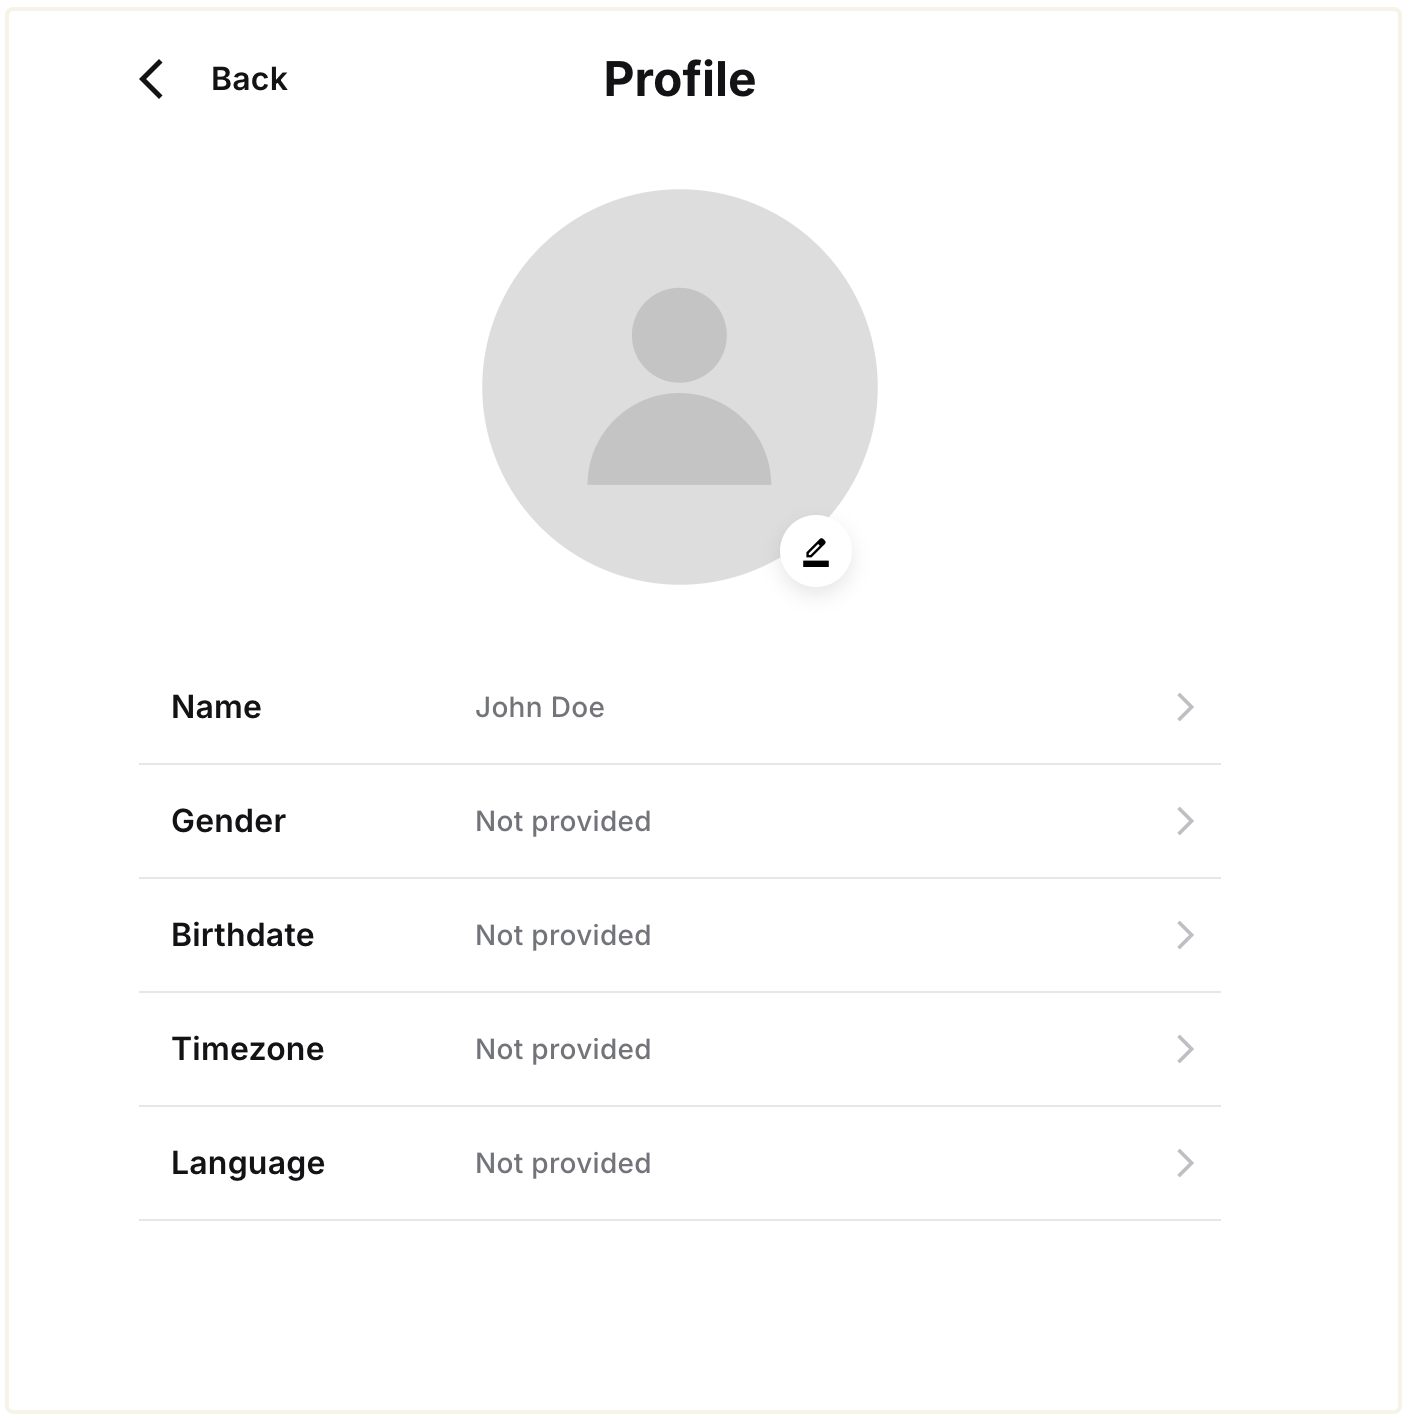
Click on the Edit Profile to edit and view profile attributes such as first name, last name, photo, etc.
Users can manage the identities (email address, phone number, or social media account) linked to their account under the My Account section of the User Settings page.
The Security section of the User Settings page has the following options:
- Password: users can change their password from here.
- 2-step verification: users can click on this option to view and manage 2-step authenticators for their account. The option is only available when you enable 2FA for your project in Authany Portal > Authentication > 2FA.
- Signed-in device: from this page, the user can view browsers and devices that their account is currently signed in on.
- Advanced Settings: contains additional settings. For example, when you enable Account Deletion for your project, users can click on this link to access the Delete Account button.
You can learn more about the User Settings page here.
5. Integrate Authany with Your Application or Website
To get more from Authany and use Authany to add user authentication to your web or mobile application, you should integrate Authany to your application or website.
Authany has official SDKs for integrating Authany with React, React Native, ionic, Native Android, iOS, and Flutter applications. See the Start Building section of Authany documentation for detailed instructions for each SDK and using other frameworks without the official SDK.
6. View and Manage Your Users
Authany offers multiple options for viewing and managing all users who sign up for your project. These options include:
- Authany Portal
- Admin API
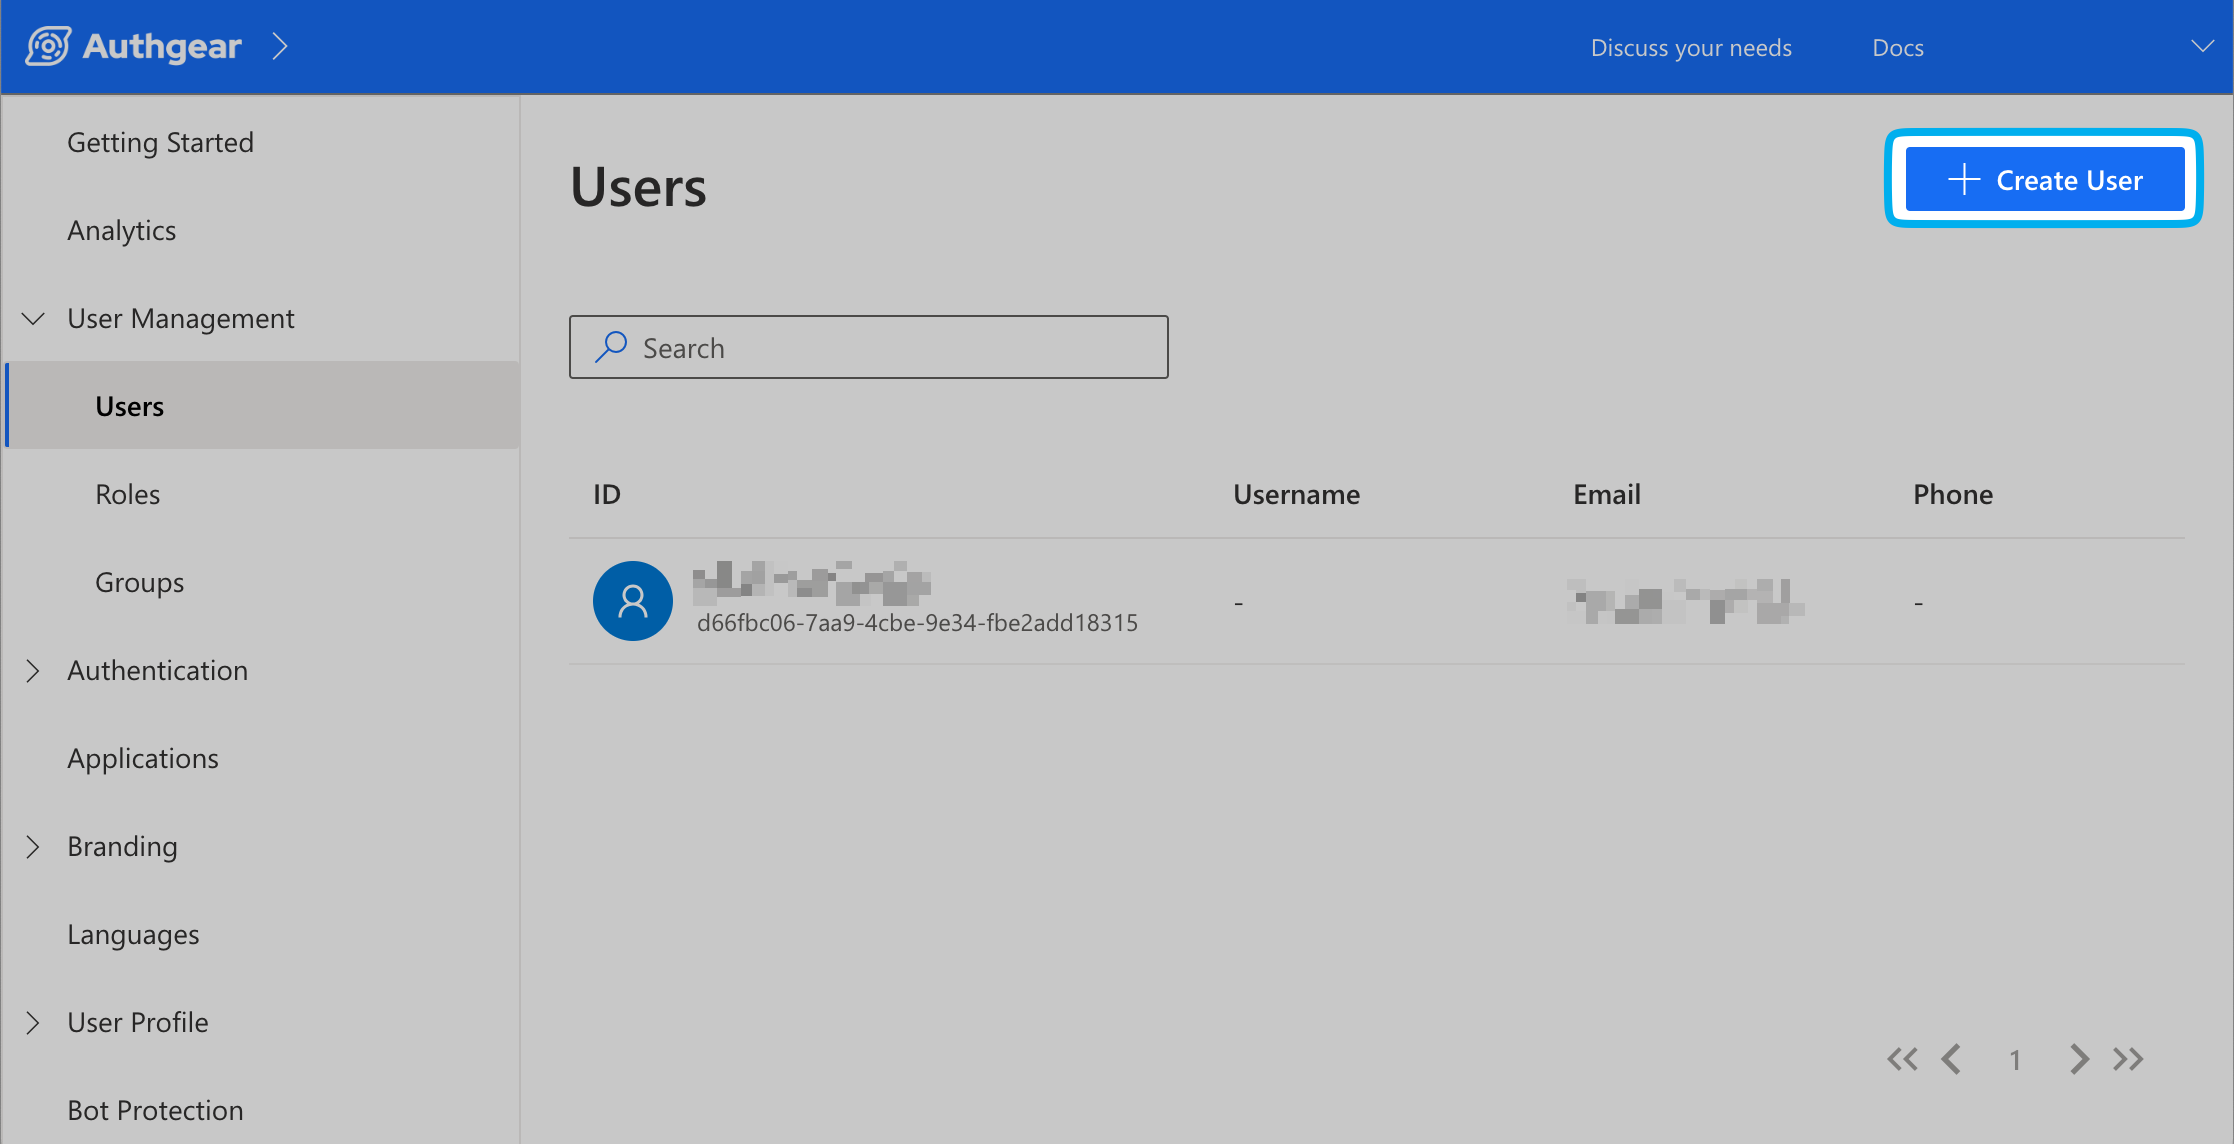
The quickest way to manage your users is from the Authany Portal. To open the user management page in the Authany Portal, click on the User Management link in the navigation bar on the left side.
Click on Users to view a list of all the users in your project. Click on a user from the list to view their complete profile and perform administrative operations like modify profile details, suspend/unsuspend user, delete account, etc.
You can also add new users to your project from the User Management page. To do that, click on the Create User button on the right.
7. Continue Exploring Authany
Continue to navigate around the Authany Portal to see all the features and settings available for your project.
You can also check out any of the following guides to learn more about Authany:
- customize the look of AuthUI login and sign-up page to match your branding needs using the Design tool
- guides on how to integrate Authany to your app.
- how to enable 2FA for your project.