Add custom fields to a JWT Access Token or ID Token
JWTs (JSON Web Tokens) are a common method for securely transmitting information between parties as a JSON object. This information can be verified and trusted because it is digitally signed. With Authany, it is straightforward to add custom fields to your JWT access tokens or ID Tokens.
This how-to guide will walk you through the process of adding custom fields such as User Profiles attributes to a JWT access token/ID token payload using Authany and Javascript Hooks.
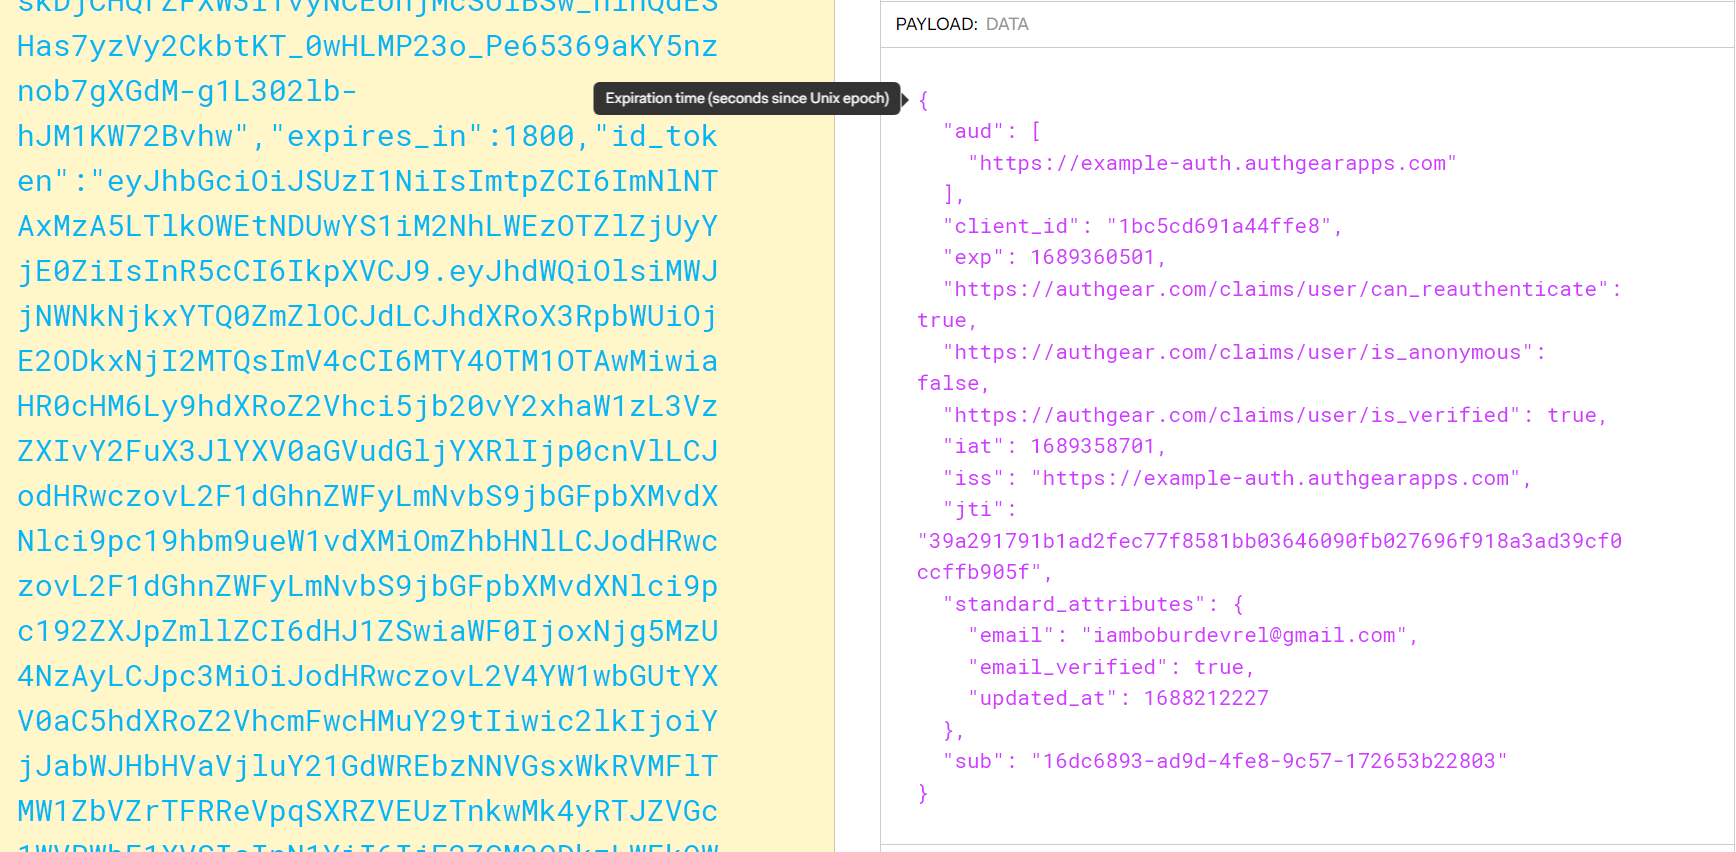
Here's an example of the fields in the JWT Access Tokens by default and an explanation of their values.
Note
You can also add custom attributes to User Profiles on the Authegear Portal.
Prerequisites
- An Authany account: You need an Authany account to follow this guide. If you don't have one, you can create it for free on the Authany website.
- A Registered App: You need a registered application (client) in Authany.
Mutation on Access Tokens
Enable Access Token for your App
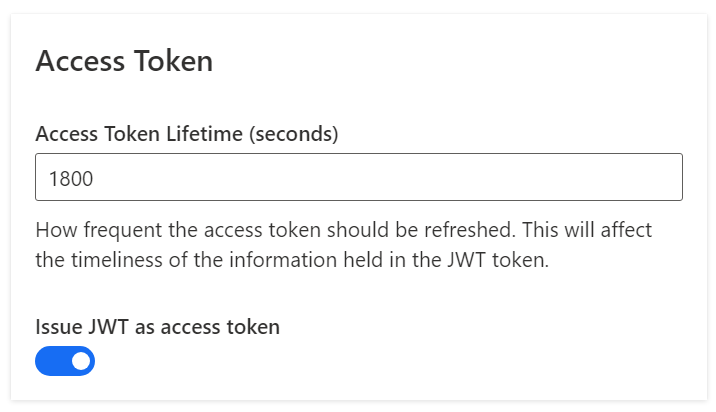
Make sure the option Issue JWT as access token is enabled in your Application settings in the Portal.
- Log into your Authany account.
- Navigate to the Applications tab and choose the existing App.
- On the App Configuration dashboard, locate the "Access token" section.
- Make the toggle Issue JWT as access token switch on.
Create a new Event Hook
With the use of Hooks, Authany provides flexibility for adding custom logic to your authentication pipeline. You can create a Hook which is triggered any of these Events about to occur. For example, oidc.jwt.pre_create the event happens just before issuing the JWT access token and it can be used to put extra information into the token.
- Navigate to your Authany Dashboard's Advanced->Hooks section.
- Add a new Blocking Event.
- Choose the Block Hook Type as the TypeScript and set the Event option to
oidc.jwt.pre_create. You will write a new Typescript function from scratch.
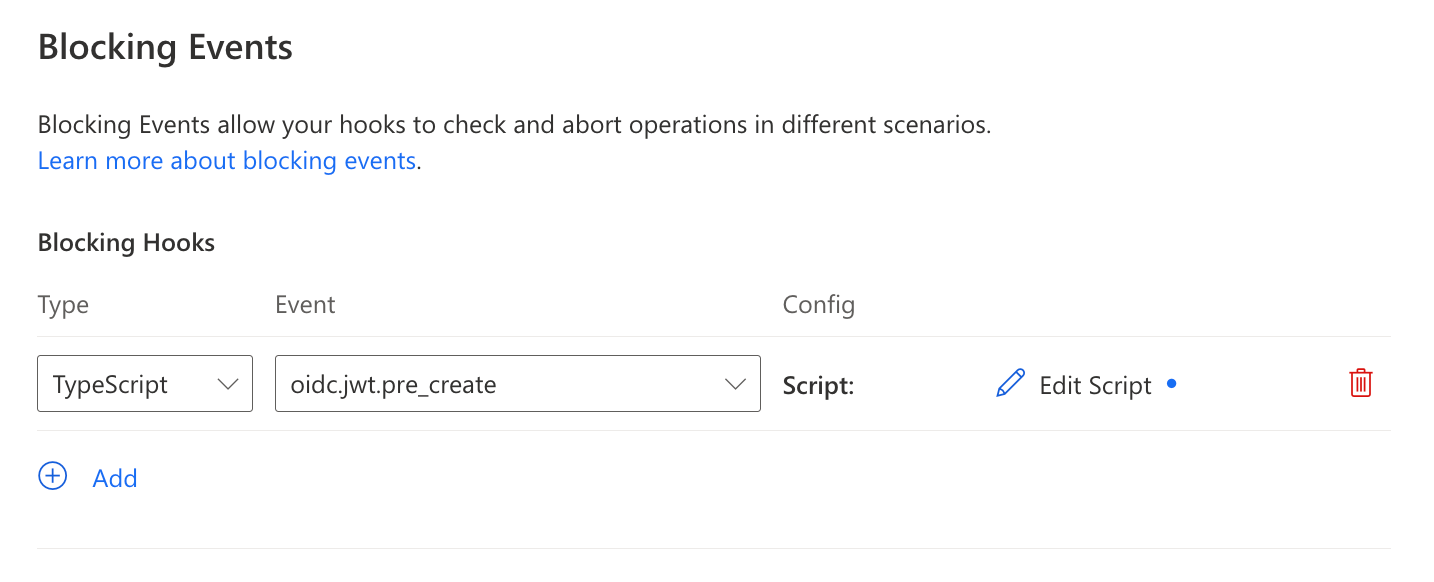
- Click on Edit Script under the Config option.
- Copy and paste the following into the editor:
import { EventOIDCJWTPreCreate, EventOIDCJWTPreCreateHookResponse } from "https://deno.land/x/authgear_deno_hook@v2.0.0/mod.ts";

export default async function(e: EventOIDCJWTPreCreate): Promise<EventOIDCJWTPreCreateHookResponse> {
  return {
    mutations:{
      jwt: {
        payload:{
          ...e.payload.jwt.payload,
          standard_attributes: e.payload.user.standard_attributes,
          custom_attributes: e.payload.user.custom_attributes
        }
      }
    },
    is_allowed: true
  };
}
- Click on Finish Editing.
- Back to the Hooks page from the navigation bar and click on the Save button at the top of the page.
In the above code, we are importing the necessary modules such as EventOIDCJWTPreCreateHookResponse and EventOIDCJWTPreCreate which are types from the Authany Deno hook Typescript library. We modify the JWT payload by adding Standard Attributes(e.payload.user.standard_attributes) and Custom Attributes(e.payload.user.custom_attributes) of the user.
Verify the Custom Field in a JWT token
There are two ways to test it:
- You can do this by decoding the JWT token on your application server side using a JWT decoder and inspecting the payload.
- If you created the application type OIDC Client Application, you need to follow the steps below. Expand it to see instructions.
Verify the custom field in the JWT Token with OIDC Client Application
This part explains how to retrieve an access token using **OpenID App** Endpoints and check if newly added custom attributes are in place in the JWT Access token. **Prerequisites** * Make sure that you have a registered app type of **OIDC Client Application** in Authany Portal. **Step 1: Obtain the necessary parameters** Open your **OpenID Auth App** configuration, and find **Client ID**, **Client Secret**, and check **Authorization**, and **Token** endpoints. You will use them in the next steps.   **Step 2: Construct the authorization endpoint URL** The URL for this endpoint is usually provided by the authorization server and includes parameters specifying the requested `scope`, `client_id`, and response\_type. Here's an example URL for the authorization endpoint:https://<YOUR_AUTHGEAR_ENDPOINT>/oauth2/authorize?client_id={YOUR_CLIENT_ID}&response_type=code&scope=openid
 **Step 4: Obtain an access token**
You need to make a request to the **OpenID App's Token endpoint** to exchange the authorization code we retrieved in the previous step for an access token.
* The token endpoint URL is usually something like `https://
**Step 4: Obtain an access token**
You need to make a request to the **OpenID App's Token endpoint** to exchange the authorization code we retrieved in the previous step for an access token.
* The token endpoint URL is usually something like `https://curl --request POST \
--url 'https://<YOUR_AUTHGEAR_ENDPOINT>/oauth2/token' \
--header 'content-type: application/x-www-form-urlencoded' \
--data grant_type=authorization_code \
--data code={YOUR_AUTHORIZATION_CODE} \
--data redirect_uri={YOUR_REDIRECT_URI} \
--data 'client_id={YOUR_CLIENT_ID}' \
--data client_secret={YOUR_CLIENT_SECRET} \
--data scope=openid
 \\
\\
Mutation on ID Tokens
With the use of Hooks, Authany provides flexibility for adding custom logic to your authentication pipeline. You can create a Hook which is triggered any of these Events about to occur. For example, oidc.id_token.pre_create the event happens just before issuing the JWT access token and it can be used to put extra information into the token.
- Navigate to your Authany Dashboard's Advanced->Hooks section.
- Add a new Blocking Event.
- Choose the Block Hook Type as the TypeScript and set the Event option to
oidc.id_token.pre_create. You will write a new Typescript function from scratch.
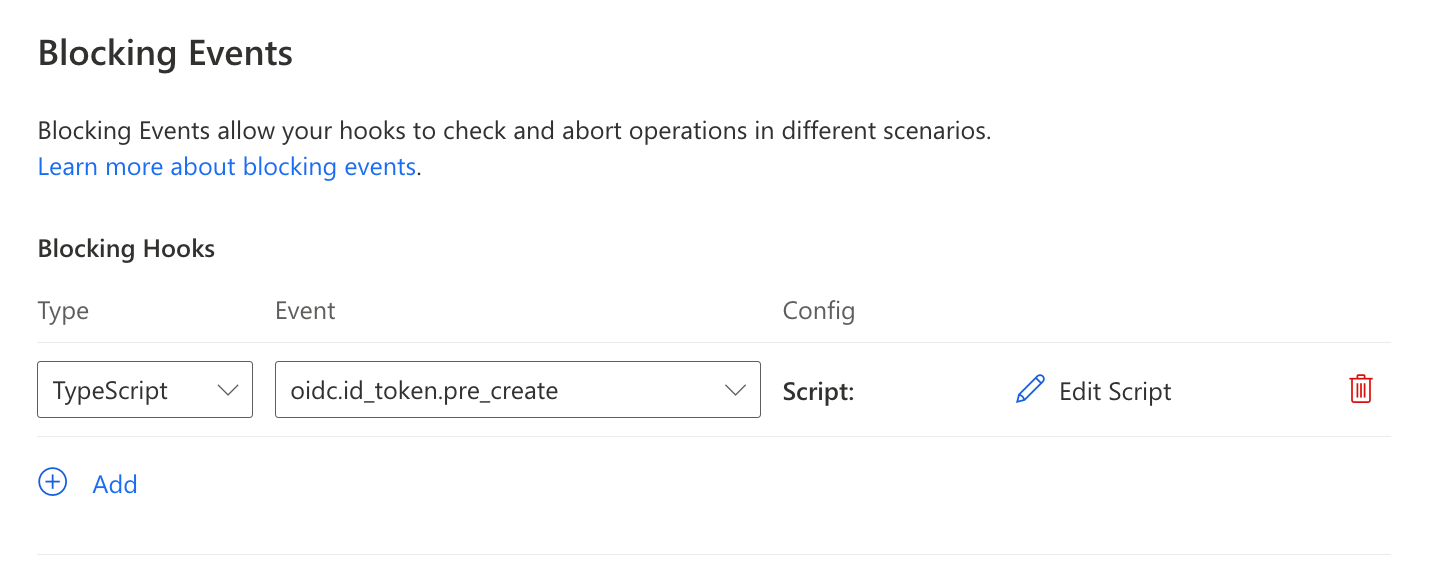
- Click on Edit Script under the Config option.
- Copy and paste the following into the editor:
import { EventOIDCIDTokenPreCreate, EventOIDCIDTokenPreCreateHookResponse } from "https://deno.land/x/authgear_deno_hook@v2.0.0/mod.ts";

export default async function(e: EventOIDCIDTokenPreCreate): Promise<EventOIDCIDTokenPreCreateHookResponse> {
  const customAttributes = e.payload?.user?.custom_attributes ?? null;
  return {
    is_allowed: true,
    mutations: {
      id_token: {
        payload: {
          ...e.payload.id_token.payload,
          custom_attributes: customAttributes
        }
      }
    }
  }
}
- Click on Finish Editing.
- Back to the Hooks page from the navigation bar and click on the Save button at the top of the page.
In the above code, we are importing the necessary modules such as EventOIDCIDTokenPreCreateHookResponse and EventOIDCIDTokenPreCreate which are types from the Authany Deno hook Typescript library. We modify the JWT payload by adding Custom Attributes(e.payload.user.custom_attributes) of the user.